 |
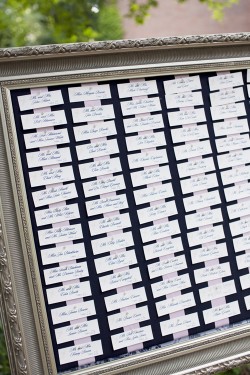
| image via The Knot, photo by Laura Novak Photography |
 |
| Image via Brides |
 |
| Image via Elizabeth Anne Designs, Photo by Melissa Schollaert |
I started my search at Michael's. (Forgive me but I didn't take any pictures - they were about to close, I was in workout clothes, and still sweating like a dog, so I was trying to avoid any attention and make it a quick trip.) And a quick trip it was - I was a little let down by the choices. I think this page contains most of the items they had. Most of the open back options they had were much smaller than I wanted, and even if they were the right size they were way more than I wanted to spend. Even with my coupon in hand, I would still have had to spend around $50. Because I'm going with an open back frame, and planning to create the background/matting, I really wanted to keep the price as low as possible so I have money to spend on the rest of the project.
A few days later, I headed over to Hobby Lobby. This time with much more time to spare and post-shower ;) I was very pleasantly surprised by their large variety of choices - 2 aisles of open back frames! (I'm sure some of you would've gone straight to Hobby Lobby but I've never really shopped for large frames, so this was a learning experience!)


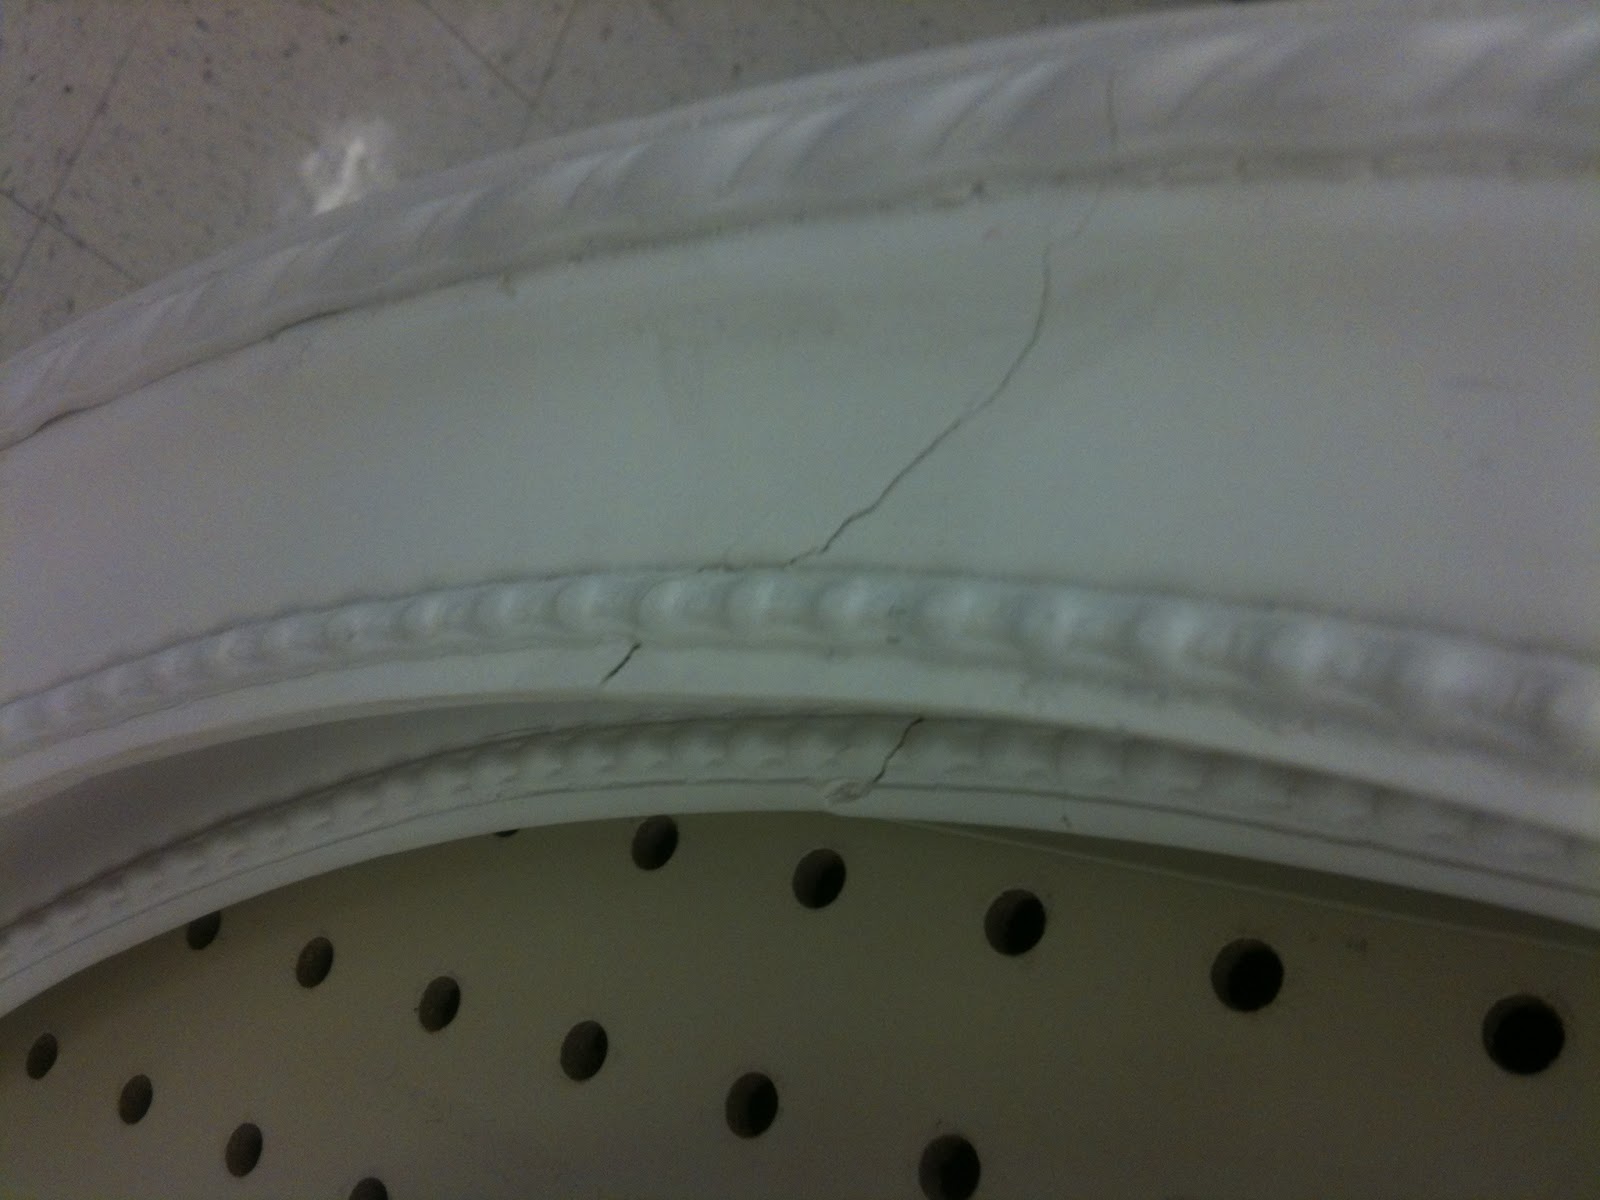
These were some of the first frames I came across. I really liked the intricate designs on each of them, but I didn't care so much for the colors. Painting them was definitely an option, but as I turned the corner I came across this beauty and I knew I would be able to use it in all of its natural glory. BONUS: I discovered the 50% off sign that I had somehow overlooked on the previous aisle. I was equipped with a 40% off coupon, but this was a nice surprise for some extra savings.


I immediately loved everything about this frame. The pictures don't really do it justice, but it's not so much of a gold color as it is a nice distressed looking silver. What the pictures do show you is just how many different size options they had in this particular frame. I was in wedding planning heaven, let me tell you.


I quickly scanned the aisle, making sure there wasn't anything else I liked better. For a moment I considered these smaller (and cheaper) white frames because I had seen them used as well. However these particular frames were unfortunately not in the best shape. I just took it as a sign that I was meant to get the one I had already fallen head over heels for.
 |
| Image via The Knot |

I mentioned earlier that I tried to keep the number of cards in mind when I decided on a frame size. My first thought was to go with the largest one they had, but when I thought about it a little more, I realized I would have some wiggle room depending on how far apart/close together I put the cards, and how many flowers we use.
I eventually settled on a 22"x28 frame. Still large, but it should definitely hold all of the cards, and it won't look too silly if we have fewer people than I'm expecting and we need to space the cards out. If you are familiar with the small shopping carts at Hobby Lobby and/or the size of a McAlister's Deli tea glass, maybe this picture will help you visualize the size :)
 |
So, that was a whole lot of talk about frames, but I'm expecting this to be a fun and rewarding project so I really wanted to share the entire process with y'all! More details coming soon!
Has anyone else done something similar with a frame for your escort cards? And more importantly, am I the only one who gets the urge to go run wedding related errands as the most inconvenient times, like 9 o'clock at night when I'm post-workout-not-so-fresh? Just me? Okay, then. :)
No comments:
Post a Comment